Table of Contents
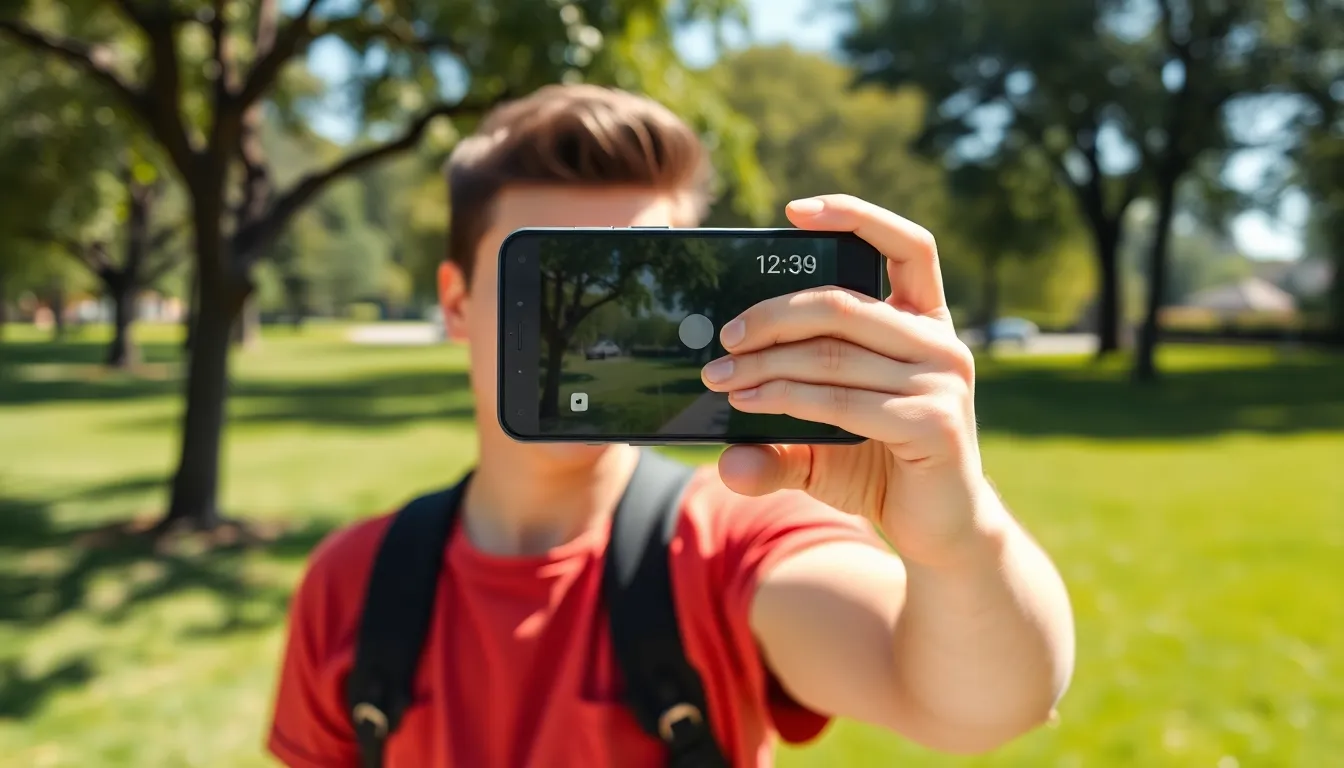
ToggleIn a world where selfies reign supreme and group photos can turn into an Olympic sport, mastering the art of the timer on an iPhone is a game changer. No more awkwardly asking strangers to snap your picture or trying to balance your phone on a stack of books. With just a few taps, anyone can capture the perfect moment without the stress of a last-minute dash to the frame.
Understanding The Timer Function
The timer function on an iPhone simplifies the photography experience. This feature enables users to set a delay before the camera captures a photo, ensuring a more deliberate shot.
What Is The Timer Function?
The timer function allows users to select a delay of either three seconds or ten seconds before taking a photo. This gives them time to position themselves or adjust settings. Activating this feature is easy; it typically resides within the camera app, alongside options for flash and filters. Users can simply tap the timer icon and choose their desired duration.
Benefits Of Using The Timer
Using the timer offers several advantages. It provides freedom from relying on others, eliminating the need to ask strangers for help. Achieving group photos becomes seamless, as everyone can pose without rushing. Composition improves, allowing users to frame shots precisely. Additionally, it helps reduce camera shake by enabling a stable hold or placement of the device. Ultimately, the timer enhances creativity, encouraging experimentation with different angles and compositions.
Steps To Set Up The Timer

Setting the timer on an iPhone is easy and enhances photography. Follow these steps to make the process smooth.
Accessing The Camera App
Start by unlocking the iPhone. Swipe up or press the home button to access the home screen. Locate the Camera app among the available icons. Tap on the Camera app to open it. The camera viewfinder appears, ready for capturing images.
Selecting The Timer Option
Look for the timer icon on the right side of the screen. It resembles a clock and provides easy access to timer settings. Tap the timer icon to reveal the timing options. Choose either three seconds or ten seconds to set the delay. Once selected, users can return to the camera view. Ready to snap that perfect shot, the iPhone captures images after the chosen interval.
Taking Your Photo
Using the timer adds convenience to capturing images, allowing users to focus on positioning and composition.
Positioning Your iPhone
Positioning the iPhone correctly holds significant importance. Users can choose a stable surface or tripod to avoid camera shake. Ensuring the shot’s composition aligns with the intended scene enhances the overall photo quality. Users should frame their subject thoughtfully, allowing for balanced spacing. Adjusting the angle may help in capturing interesting perspectives. If using a tripod, secure the iPhone properly to prevent it from falling. After setting the scene, users should step away into position and prepare for the photo.
Triggering The Timer
Triggering the timer on an iPhone is straightforward. After selecting the desired timer option, users should make sure the camera is ready. Tapping the shutter button activates the countdown. The timer will display a visual countdown on the screen, providing a cue for the user. If the camera supports sound, an audible beep might signal the countdown intervals. As the timer approaches zero, users can confidently pose for the photo. The timer’s functionality ensures users capture their moment without rushing, leading to more natural expressions.
Tips For Great Timer Photos
Timing and composition play crucial roles in capturing great photos with an iPhone timer. Perfecting both aspects enhances the quality of your images significantly.
Finding The Right Angle
Experimenting with angles allows for unique perspectives. Positioning the camera at eye level captures natural expressions and interactions. Low angles can make subjects appear more dynamic, while high angles provide a broader view of the setting. Ensure that you eliminate distractions from the background to keep the focus on your subject. Additionally, utilizing leading lines helps draw attention towards the focal point of the photo. Capturing different heights and distances provides a variety of options during editing.
Using A Tripod
Stability matters for clear, professional-looking photos. A tripod firmly holds the iPhone, preventing any shake. This tool also allows for precise adjustments to angles and framing. Opt for a remote shutter release if available; it provides another level of convenience. Utilizing a tripod encourages experimentation with long exposures or various lighting conditions, as it maintains consistent positioning. Always ensure the tripod is stable on the ground, and use a flat surface to achieve optimal results. This setup reduces the hassle of balancing the iPhone on unstable surfaces.
Troubleshooting Common Issues
While using the timer feature on an iPhone, users may encounter common issues. Addressing these problems can enhance their photography experience.
Timer Not Working
The timer may sometimes fail to activate. Ensure the user has selected the timer option in the Camera app; the icon should appear highlighted. Restarting the app can help resolve temporary glitches. If the issue persists, rebooting the entire iPhone is advisable. Outdated software can also impede functionality, so checking for iOS updates is essential. Ensure storage isn’t full, as a lack of space can affect app performance. Those steps often restore the timer’s functionality quickly.
Camera Focusing Issues
Focusing problems might arise when using the timer. When the camera fails to focus, tapping the screen on the intended subject can usually assist. This action prompts the camera to adjust its focus before the timer activates. For optimal results, users should avoid low-light conditions, as poor lighting affects focusing quality. Consider using the grid feature to assist in framing the photo, which maximizes clarity. Regularly cleaning the camera lens helps eliminate smudges that can interfere with sharpness. Addressing these aspects often improves photo quality significantly.
Using the timer feature on an iPhone transforms the way users capture memories. It empowers them to take control of their photography without relying on others. By allowing time to set up the perfect shot, it enhances creativity and composition.
With just a few taps, anyone can achieve stunning photos that reflect their personality and style. Whether it’s a solo selfie or a fun group picture, the timer simplifies the process. Embracing this feature not only improves photo quality but also encourages experimentation with angles and settings.
By keeping these tips in mind, users can unlock the full potential of their iPhone camera. With practice and a little creativity, every shot can become a cherished memory.


